Before you decide that old TK50 tape drive you have is dead, because it gives you countless read errors and you think it will never be usable again, consider this:
How to clean a TK50 drive in 16 easy steps

What you’ll need:
1. A TK50 tape drive

2. Some isopropyl alcohol (also known as rubbing alcohol) and a cotton ball

3. A Philips screwdriver
Step By Step Procedure
Step 1: Pull off the chassis cover
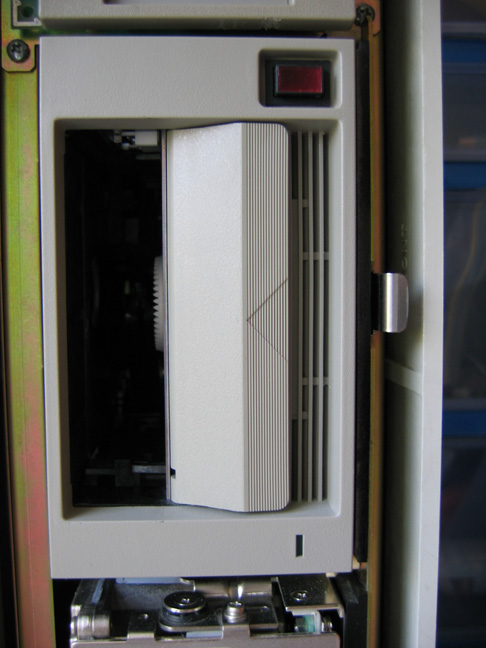
Step 2: Press the metal lever outwards to release the drive and simultaneously pull the drive until it is unlocked from the lever

Step 3: Pull out the drive
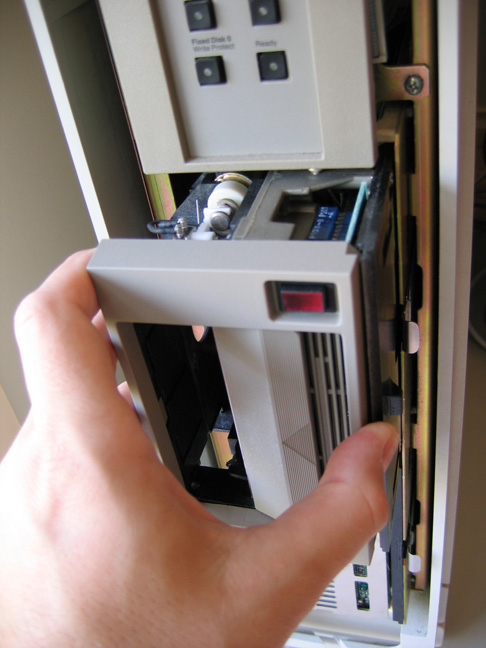
Step 4: Disconnect the two cables

Step 5: Check that the drive is indeed a TK50 drive to avoid embarrassment during the next steps

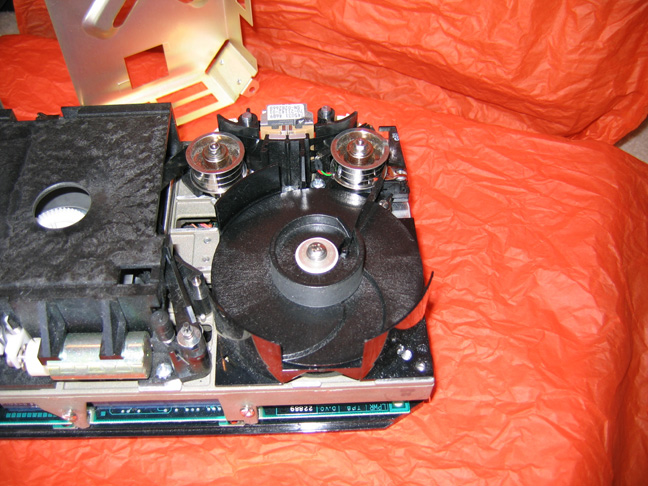
Step 6: Place the drive on an even surface

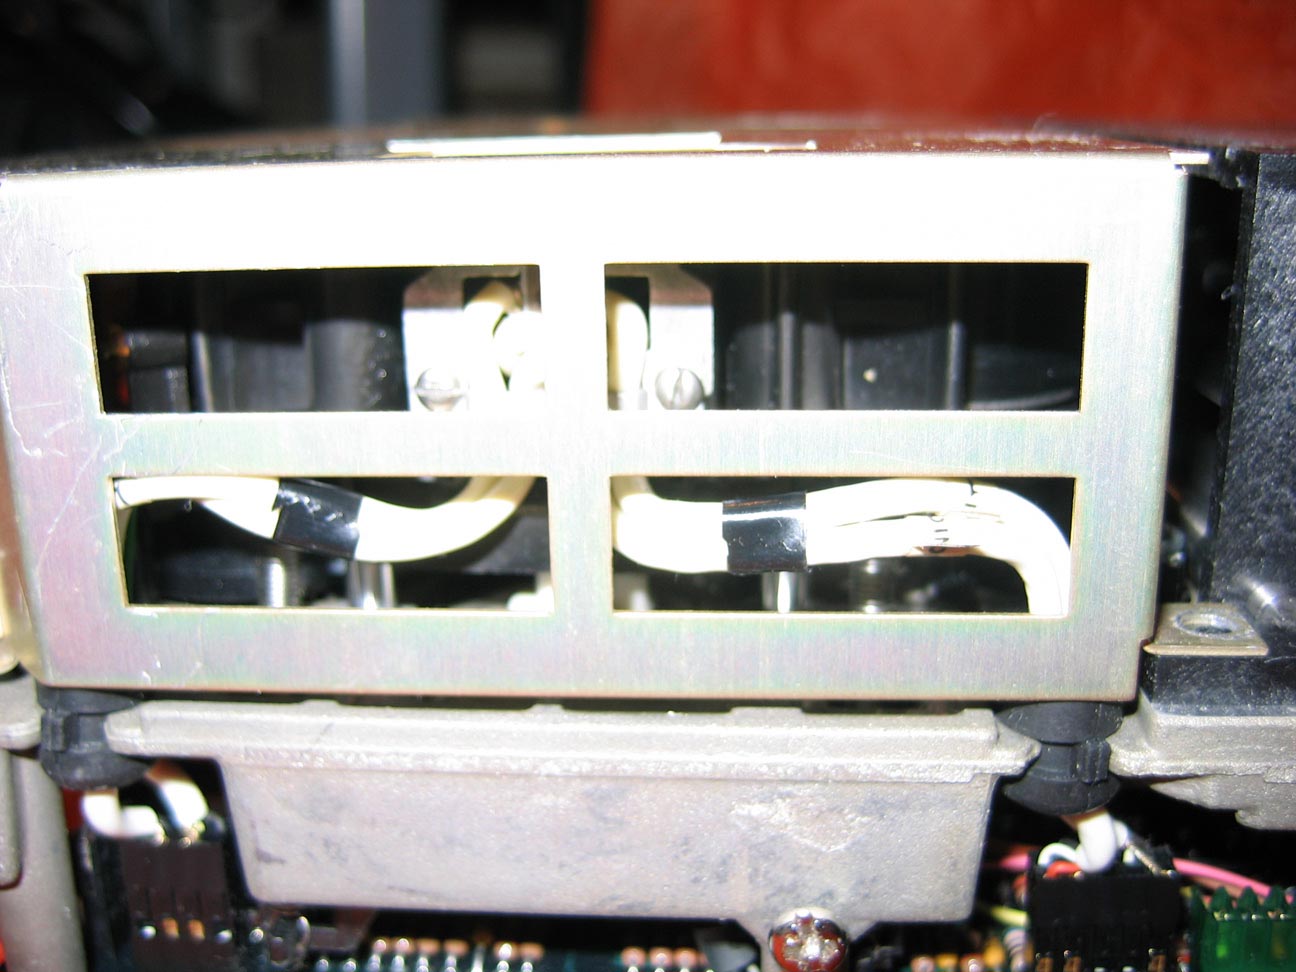
Step 7: Unscrew the three screws marked in the photo below

Step 8: Take off the metal cover
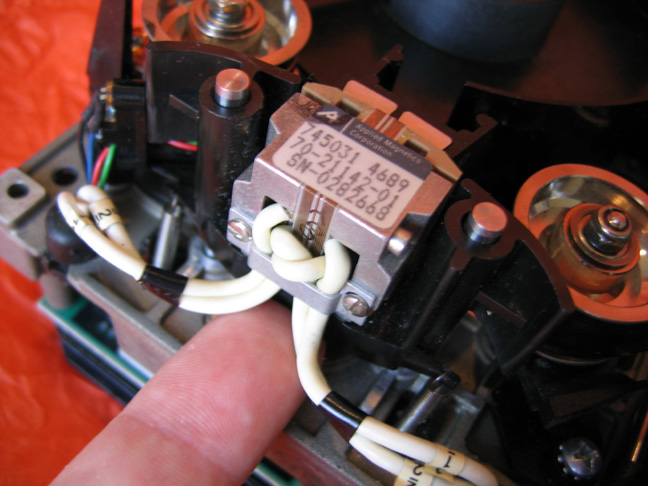
Step 9: Locate the read/write head

Step 10: Reaching from behind the head, push it up using your finger and place something below the head to prevent the springs from pulling it back down (a piece of anti-static foam will do)
Step 11: Observe the head surface; it should look something like this:
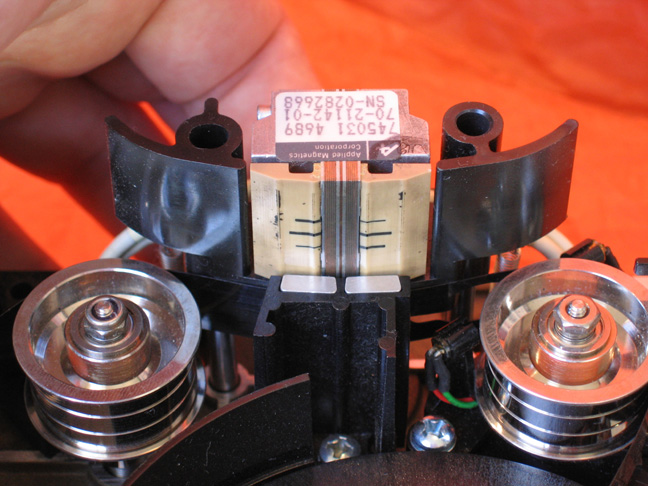
Step 12: Moisten the cotton ball with a little bit of isopropyl alcohol and rub clean the ceramic surface of the head

Step 13: Admire your work
Step 14: Carefully remove the foam, release the head back into position and close the metal cover using the three screws
Step 15: Re-connect the drive cables and push it back into place until the metal lever snaps
Step 16: All done !
If you find a specific TK50 tape is still unreadable, you can try cleaning the head tachometer, or give up on it and re-format it using the procedure described in the Formatting Howto.
